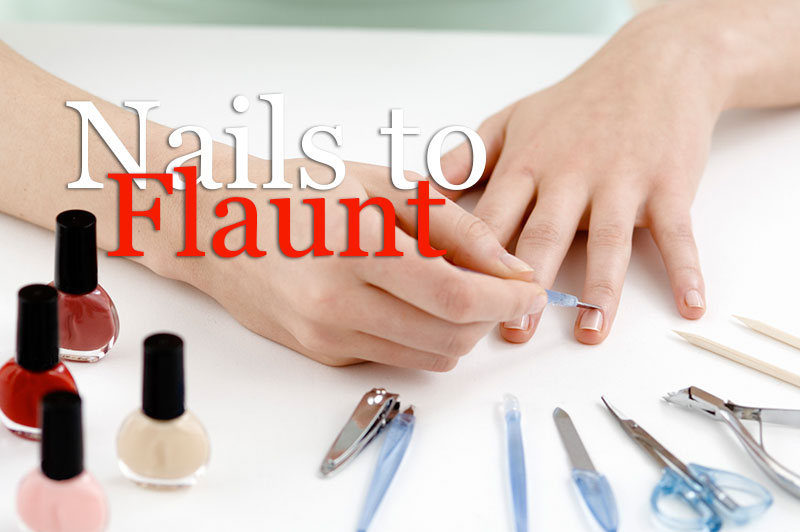
Nails To Flaunt
Unlock Your Nail Glamour: French Manicure Secrets for Strong Nails
Beautiful nails are no accident. A few fortunate women seem to have been born with genes which lend themselves to the growth of long, strong nails, but the rest of us have to work at it. The encouraging thing is that a little work - some changes in nutrition plus a new regime of external care - can transform your nails within a few months.
why weak nails?
The standard advice (still, sadly, given by a lot of so-called nail experts) is that if your nails are weak or thin or break easily, you need to eat lots of protein to correct the condition. It is this assumption that leads manicurists to suggest gelatin capsules for weak nails. But it is a false one. Very soft nails most often announce not a protein deficiency, but either a mineral deficiency or hypochlorhydrin: lack of sufficient stomach acid. This prevents the adequate production of amino acids from which nails can be built.
One of the best possible overall treatments for nails is to go on a six-week course of nutritional supplementation aimed at eliminating hypochlorhydrin. This means taking three 500 mg capsules of a good blend of amino acids (ideally formulated to mimic the balance found naturally in an egg), together with one or two tablets of betaine hydrochloride, and three to six kelp tablets after each meal. It is a method which tends to work even when all others fail. For anyone who has consistently struggled with the problem of poor nails it can be a real blessing.
nail glamour
Part of the fun of looking glamorous is having 10 beautiful lady-of-leisure nails to waft about. Yet who wants to spend their life wearing protective gloves, worrying about the `catastrophe' of breaking a nail? Learn the French manicure secrets for strong nails and then you can renew your manicure just once a week.
Nail Saver Tips
Without becoming obsessive, there are certain precautions you can take to help protect your nails from physical damage:
Use a pencil to dial the telephone.
Use a knuckle rather than your fingertip to push buttons, for example to call a lift.
Keep hand lotion ready to use after you wash your hands and during the day.
Use rubber gloves every time you wash the dishes.
the french manicure
You need: nail varnish remover, cotton wood pads, emery board or nail soak, orange stick, cuticle trimmer, nail scissors, buffer (optional), base coat, nail varnish, top coat.
The pre-manicure
If you are short on time, just do steps 1 and 2. Save the longer pre-manicure for really pampering yourself.
1. Filing
It is best to file your nails while they still have polish on so that they are afforded some protection. Keep the sides of the nails straight and only file the corners in a gentle curve. Follow the natural shape of your nails as a guide and file away from the outer edge towards the center in one direction.
2. Cleaning
Soak a cotton pad with a remover containing conditioner and press it onto the nail for a few seconds, then wipe it outwards away from the cuticle. If you have been wearing colored varnish you may need to soak a cotton bud with remover and go around the edge of the cuticle to help lift away any remaining color. If your nails are stained , use a cut piece of lemon to help dissolve the stain and whiten them.
3. Soaking
Soak your fingertips in a bowl of warm water containing a conditioning nail soak. You can make your own using a few drops of your favorite bath oil dissolved in water.
Cuticle care
Rinse your hands and pat them dry. Using an orange stick, gently push back your cuticles. This will make your nails appear longer.
5. Top abrasion
This step can be helpful if your nails have bad ridges, while you are waiting for the nutritional supplements to affect the new nail growth. Also, if you do not like to wear nail varnish, you can get a polished look naturally. Using a special flexible buffing board with three different grades of roughness on it, simply buff the nail in one direction several times. Start with the heaviest grade and work towards the finest.
6. Final squeak
Rub over each nail once more with a cotton pad soaked in nail varnish remover to prepare an oil-free base on which to apply your varnish.
The manicure
Three steps to success:
1. The base
Apply a layer of protective base coat to each nail. Look for a base coat which incorporates nail strengthener.
2. Tip treat
Paint the tip of each nail - the white part - with white enamel. This can be matte white or pearlized white. Not only does this keep your nails looking fresh and clean but, more importantly, it gives them extra strength at the tips where they need it. Let the tips dry and then add another tip coat.
3. Top
Finish the manicure by applying a layer of top coat to the entire nail to seal the lacquers. To keep your manicure fresh and protect your nails even further, paint a coat of top coat over the top of your manicure every evening and massage a little cuticle cream into your cuticles.
